There are no items in your cart
Add More
Add More
| Item Details | Price | ||
|---|---|---|---|

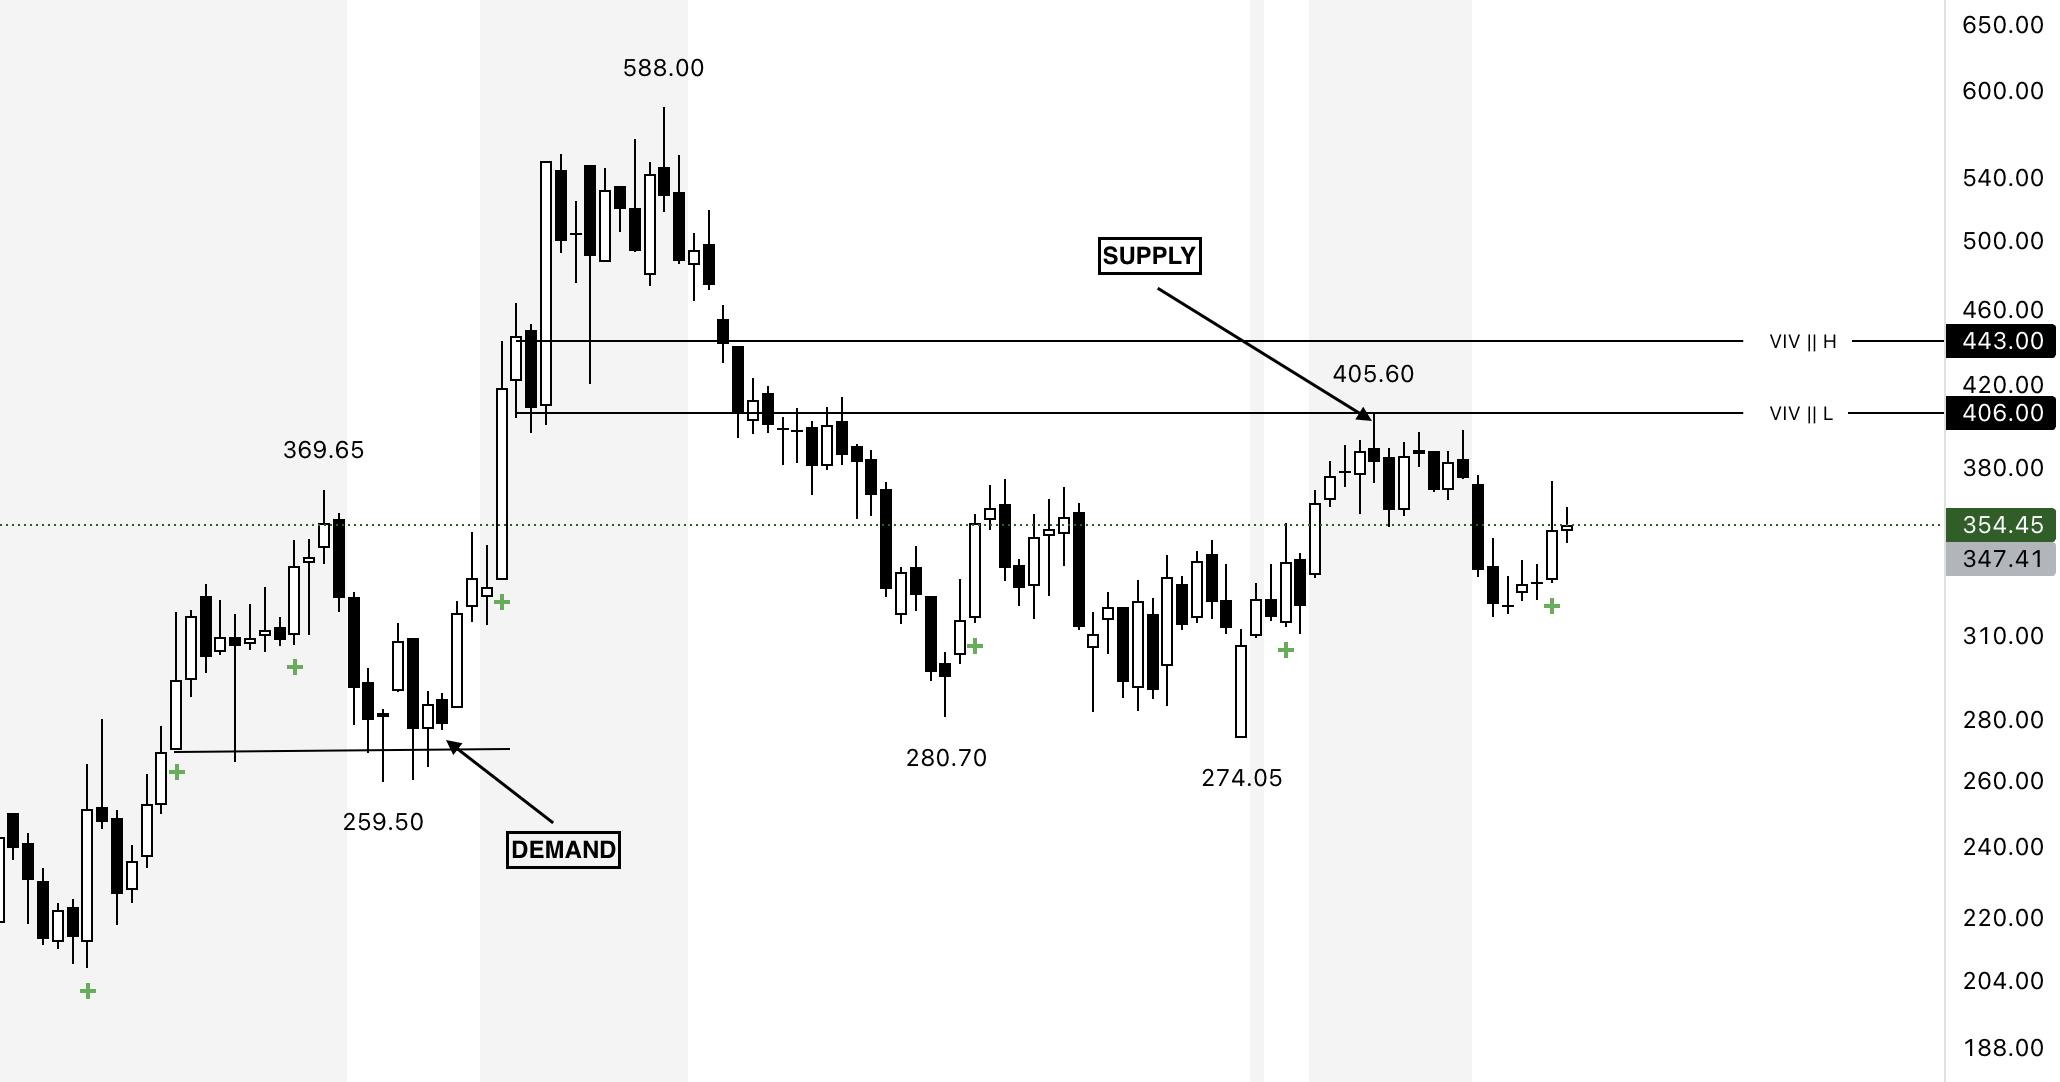
Why Zones Matter More Than Lines
Most traders draw horizontal support and resistance lines on their charts. But markets don’t actually react to a single price — they react to zones. These zones represent where institutional buyers or sellers are active. When demand zones hold, price rallies. When supply zones reject, price falls. Understanding this concept can transform how you trade. But here’s the catch: most traders misidentify these zones — or worse, they ignore volume completely, missing the institutional footprints that make these areas reliable.
Many traders rely on single price levels — like “support at ₹500.” But big players don’t place orders at exactly ₹500. They build positions in ranges — say between ₹495 and ₹505.
Here’s what separates real zones from noise:
When traders fail to recognize real demand and supply:
 Manually marking every potential demand and supply zone is exhausting. You have to analyze every candle’s volume, decide which bars are important, and track them across timeframes. One distraction, and you miss a critical footprint. This is where VIV (Very Important Volume) simplifies everything:
Trade With the Market, Not Against It
Demand and supply zones are the foundation of price movement. When you understand them, you stop feeling like the market is random — and start anticipating where price is likely to turn. Whether you do it manually or use tools like VIV, the goal is clear:
Find where the smart money is active, align with them, and trade with confidence. If you’re tired of chasing trades that reverse or wondering why price rejects at “mystery levels,” it’s probably because you’re not watching the right zones. VIV simply makes those zones obvious.
By Sunil Sethi
Trading markets since 2016 | Swing & Positional trader | Price Action | Reversals
Building clarity in the chaos of charts — blending tech leadership with market mastery.